
- News
- lifestyle
- home-garden
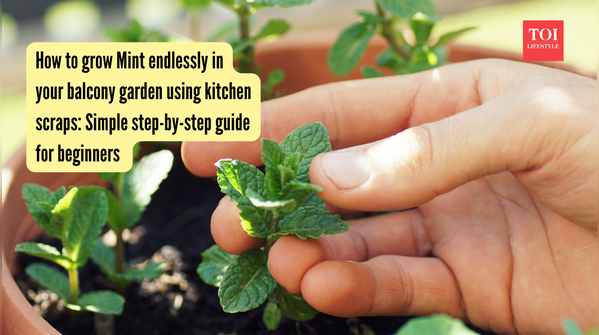
- How to grow Mint endlessly in your balcony garden using kitchen scraps: Simple step-by-step guide for beginners
How to grow Mint endlessly in your balcony garden using kitchen scraps: Simple step-by-step guide for beginners
How to grow Mint endlessly in your balcony garden using kitchen scraps: Simple step-by-step guide for beginners
Mint is one of those herbs that feels like a kitchen cheat code, fresh, fragrant, and always useful in a drink, a chutney, or a dinner recipe.
The best thing is that it can be easily grown in small pots, giving an immediate solution when needed in the kitchen.
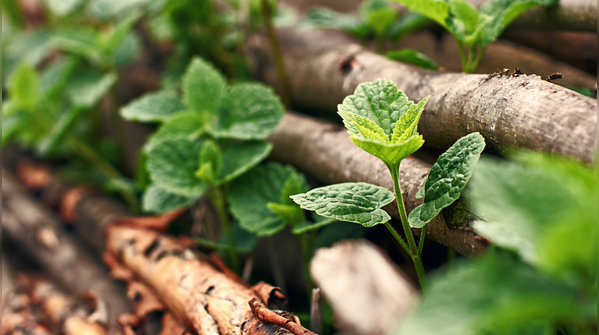
Surprisingly, these mints can be grown from ordinary kitchen scraps, almost like magic. A few leftover stems from a bunch you bought at the market can turn into a whole plant that keeps giving you leaves for months, if not years.
Mint is naturally fast‑growing and hard to kill, so it’s perfect for people just starting to cook with homegrown herbs or who want a little greenery in the kitchen.
Here are some easy and simple ways to grow Mint endlessly from scraps!Disclaimer: These tips are for general gardening guidance and simple home use only, based on general information. Growing mint from scraps may not work the same way in every home or climate. Plant growth depends on sunlight, water, soil, and care. Avoid overwatering the plant, as it can damage the roots.
Pick the right scraps
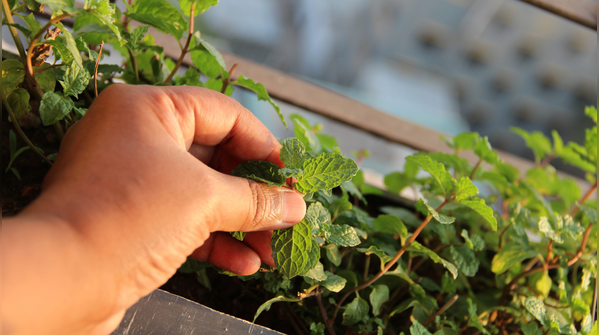
Not every mint scrap will grow, but the right stem can go a long way. Look for healthy, green stems from a bunch you bought for cooking or drinks, ideally 4–6 inches long with a few sets of leaves. Make sure the stems are firm, not spoiled or yellow, and avoid any that are already flowering, as those can struggle to root.
Once you have the stems, trim off the lower leaves, leaving only the top ones; this prevents rot and forces the plant to put energy into roots. These little “cuttings” are your future mint plants, and you can get several from one bunch without wasting anything.
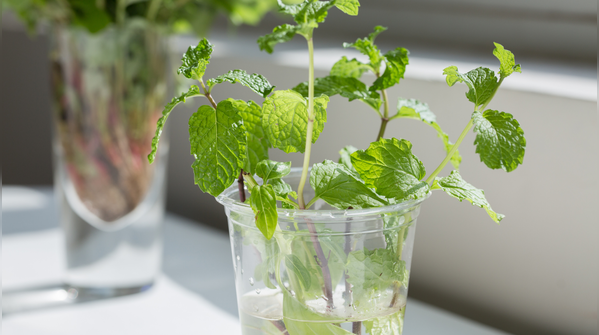
Rooting in water is simple
A quick way to start is by rooting mint in water. Place the prepared stems in a clean glass or jar filled just enough to cover the bottom inch of stem, keeping the leaves above the water line. Keep the jar in a bright, indirect‑light spot like a windowsill, and change the water every few days so it stays fresh.
Within about a week, you should see small, white roots beginning to form. Once the roots are an inch or more long, the stems are ready to be shifted to soil, though you can keep them in water for a while if you like watching the roots grow.
Planting and growing in pots
When your mint has decent roots, plant it in a small pot with well‑draining soil. Choose a container with a drainage hole and fill it with light potting mix, not heavy garden soil. Bury the rooted stem up to just below the bottom leaves, water gently, and place it where it gets a few hours of morning sun.
Keep the soil consistently moist but not soggy, and pinch off the top leaves regularly to encourage bushy growth instead of a spindly, leggy plant. Over time, you can move it to a bigger pot as the roots spread.
Harvest to keep it going
To grow mint endlessly, you need to harvest it the right way. Never cut more than a third of the plant at once, and always cut just above a leaf node, the part where leaves meet the stem. This tells the plant to branch out and produce more stems, giving you a fuller, more productive bush.
Regular picking also keeps the plant fresh and prevents it from getting woody or bitter.
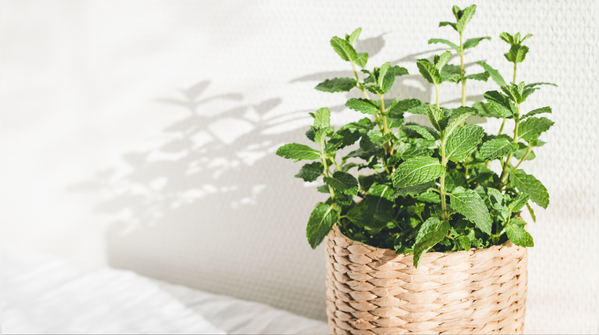
Keeping your mint happy for long‑term produce
Mint is tough, but it grows best when it has a few basic needs. Keep it in a bright spot with some airflow, and avoid letting it dry out completely or sit in waterlogged soil. If you notice the edges turning brown, it might need more water or a bit less direct sun.
Every few months, you can divide the plant or refresh its soil so it doesn’t get overcrowded
Featured In lifestyle

MORE FROM ETIMES
life & style